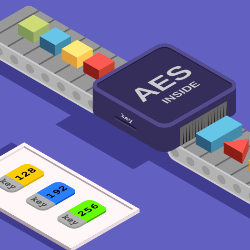
What is AES and how it works?
In my day‑to‑day work, AES occasionally shows up as a requirement or as a behind‑the‑scenes feature of a technology. Believe it or not, we use it many times each day without realizing it: when you connect to secure Wi‑Fi, visit an HTTPS site, message someone via a mobile app, or interact with your b...
Continue Readeing
How to generate PWM signal using Microchip 8-bit AVR microcontrollers
NOTE: This article explains how to generate PWM signals with newer Microchip 8-bit AVR microcontrollers released after 2016. These include microcontrollers from the tinyAVR 0/1/2-series or megaAVR 0-series. Before diving in, it’s assumed that you already understand what PWM (Pulse Width Modul...
Continue Readeing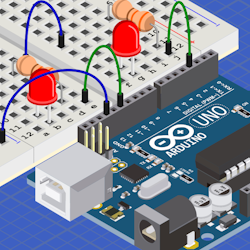
How to generate PWM signal with Arduino board
In this article, we discussed what a PWM (Pulse Width Modulation) signal is and how to generate it using Raspberry Pi. In this article, we’ll talk about how to generate PWM signals on the Arduino Uno board. We’ll start with a simple example of generating a PWM signal using software and proceed...
Continue Readeing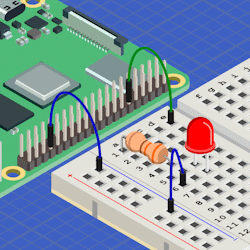
How to generate PWM signals on Raspberry Pi?
Pulse Width Modulation (PWM) is a technique that involves modifying the width of a pulse while keeping the frequency constant. By adjusting the width of the pulse, we can regulate the power delivered to a load. PWM finds application in various scenarios, including controlling the speed of a DC motor...
Continue Readeing
How to use GPIO pins on new generation of AVR Microcontrollers
This article will guide you on using GPIO pins for input and output on the latest AVR microcontrollers. Although the examples provided are for the ATtiny 202 microcontroller, you can easily adapt them for other models with minor modifications. We’ll begin with a straightforward example of how to mak...
Continue Readeing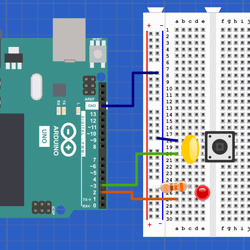
How to use Arduino's Digial IO pins
The Arduino board allows users to connect and interact with a variety of external devices. One of the key features of the Arduino board is the ability to set any digital pin as either an input or an output, depending on the user’s needs. By configuring a pin as an input, the user can read sign...
Continue Readeing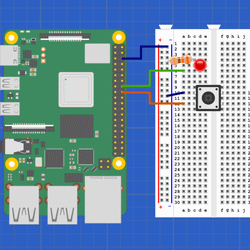
How to use Raspberry Pi GPIO Pins as Input/Output
GPIO or General Purpose Input Output is a crucial feature of Raspberry Pi that enables users to connect and interact with external devices. While the Raspberry Pi’s GPIO pins support different interfaces such as I2C, UART, and SPI, this article will focus on how to use a generic GPIO pin as either a...
Continue Readeing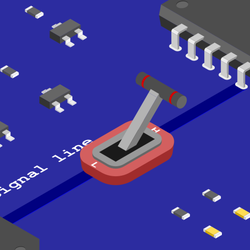
How does the Bi-Directional Logic Level Shifter work?
The PiSwitcher Plus board communicates with the Raspberry Pi board through the I2C interface. A small problem arises since the board operates at 5V, but the Raspberry Pi GPIO pins operate at 3.3V. Since the communication is bi-directional, and connecting the lines directly won’t produce reliable res...
Continue Readeing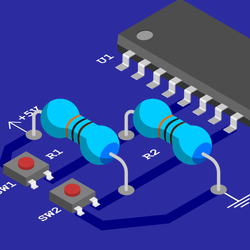
How pull-up/pull-down resistors work?
We know that a logical signal can have two states: LOW (or 0) and HIGH (or 1). In the LOW state, the voltage level is usually close to 0V. In the HIGH state, the voltage is close to the power source voltage: 3.3V, 5V, or in some circuits even lower. When we don’t provide an input signal to an input ...
Continue Readeing
How to use MOSFET transistors as switch
This article is a quick reference on how to use MOSFET transistors as a switch. Please refer to this article if you want to know how to use a BJT transistor as a switch. There are two main types of transistors: Bipolar Junction Transistors (BJT) and Field Effect Transistors (FET). The FET transistor...
Continue Readeing
How to use a Bipolar Junction Transistor as a switch?
A mechanical switch has good conductive properties and can switch high current/voltage. However, the big downside is that it needs to be operated manually, which is not good for automation projects. On the other side, a generic IO pin of an integrated circuit can provide up to 20mA, which is probabl...
Continue Readeing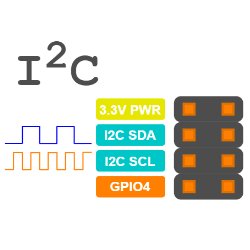
Three ways to enable the I2C interface on Raspberry Pi
This article covers how to enable the I2C interface on Raspberry Pi OS only. The steps below are for Raspberry Pi 3 Model B, but it should work on any Raspberry Pi 2/3/4 models as well. In this article, I will cover two basic methods on how to enable the I2C interface: using the Raspberry Pi Configu...
Continue Readeing